

Sowing seed and growing seedlings on is a skill that’s truly worth having. In this time where we can be in Lockdown within hours, having seeds in your fridge and some good quality potting mix on hand means you can grow food.
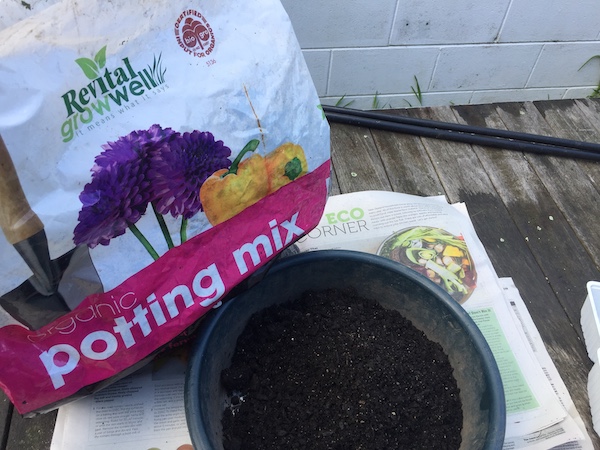
We say good quality potting mix because the media is an important part of your success. Some brands have too much nitrogen in them which will burn the roots of little seedlings. If it’s too chunky the roots will stick to the chunky bits and it’s hard to separate the seedlings out when pricking out, so it is worth the investment.
We make seed-raising mix out of potting mix because then you’ll have the potting mix for the next stage of pricking out. But if easier, you can of course buy seed-raising mix.
We make it by using a garden sieve which eliminates the really chunky bits.
Many seeds are viable for up to 5 years when stored in the fridge. It’s a good habit to get into to put the date on your seed packets when you put them in the fridge.
When buying new seed, store it in the fridge for at least 2 weeks before sowing, as the seed, when taken out of the fridge, thinks it’s Spring and time to germinate and grow – such is its intelligence.
The items you need for seed sowing are:
- Seeds
- A container to sow the seeds in – it should have holes in the bottom for drainage
- Potting mix or seed-raising mix
- A garden sieve (if you’re making seed-raising mix yourself)
- Something to make the rows out of – like a piece of dowel or angle iron
- Labels
- Pen
- Newspaper to set it all up on
- Liquid seaweed
- Larger container to soak small containers in or a bottle with a spray top
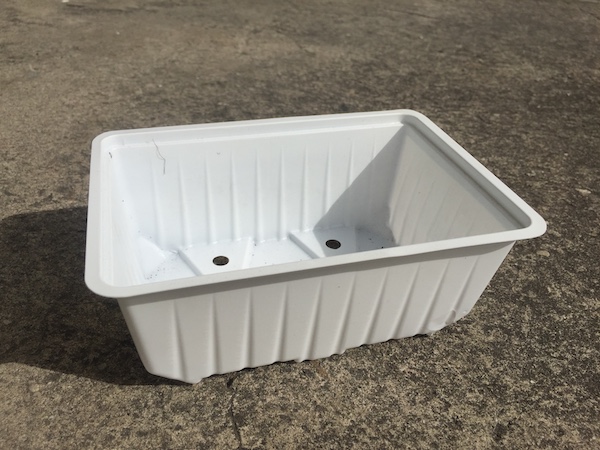
We like these little punnets as they’re a good size for producing the number of seedlings you need for the home garden. They are plastic, but we re-use them.
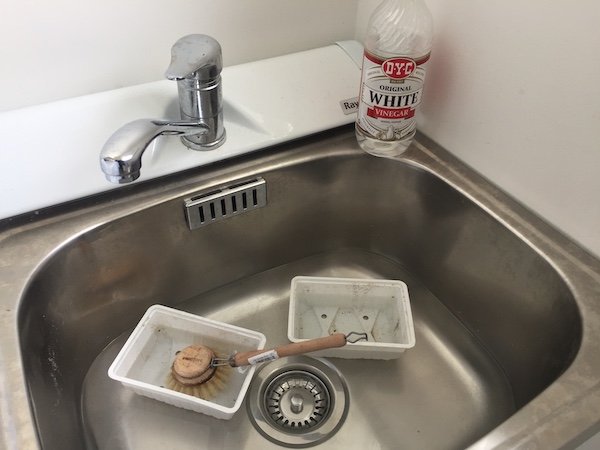
We wash them in water to which a good splash of white vinegar has been added. The vinegar sterilises the containers. It may seem unnecessary to do this, but it does mean you’re getting rid of any diseases that may have been in the container previously.
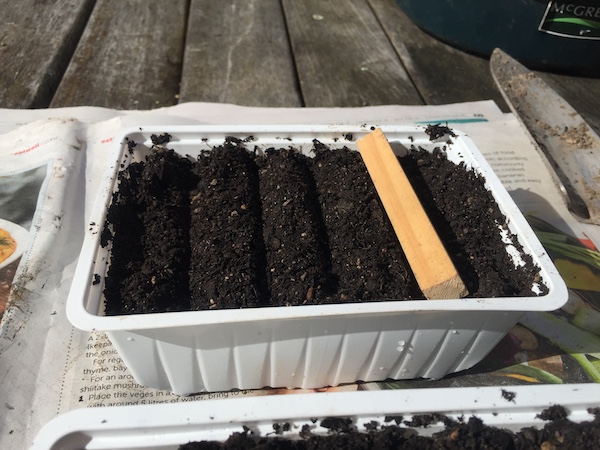
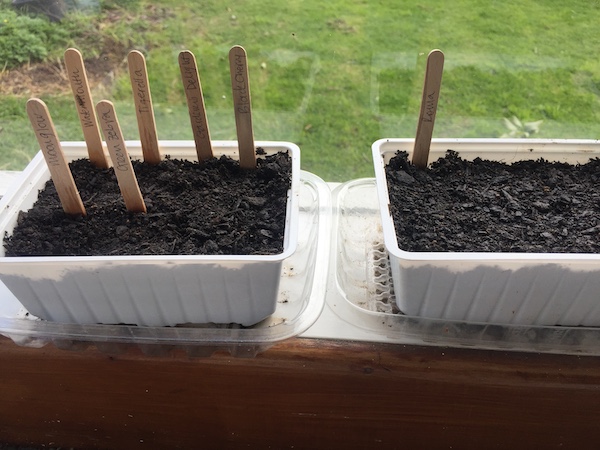
Next, fill the container with the sieved potting mix or seed-raising mix.
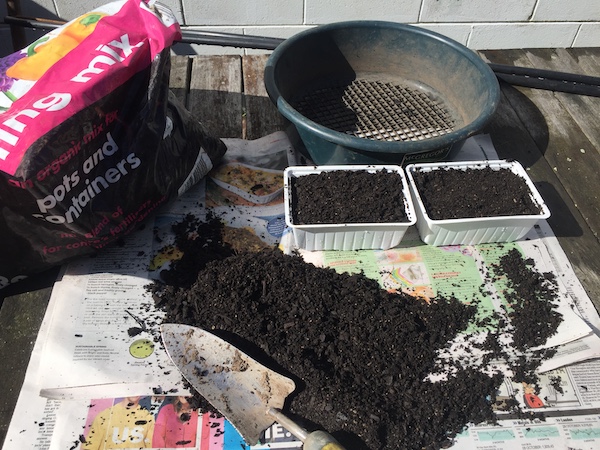
Then we make little troughs with our piece of dowel or whatever you have on hand (a pencil can do the job).
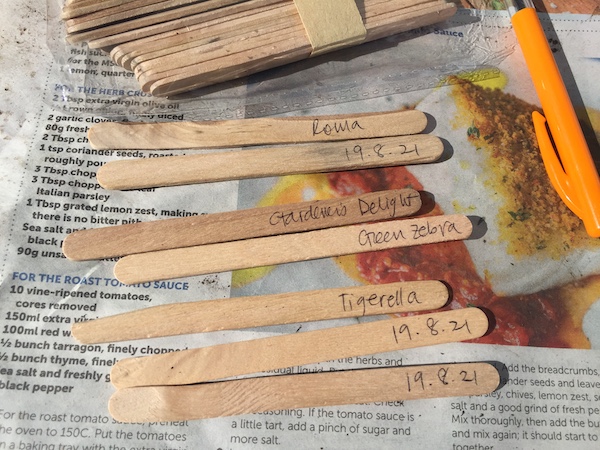
We write the name on the labels and the date on the back. This is because after a certain date if the seed hasn’t germinated you can be assured that it’s not going to.
Insert labels at the end of the row. Then sow your seed. Try and sow seeds from the same family in the one container as they’ll germinate at a similar time. If you have a good medium you can expect a 80-90% germination rate (so long as your seed is viable). So work on that with regard to how many seeds you sow.
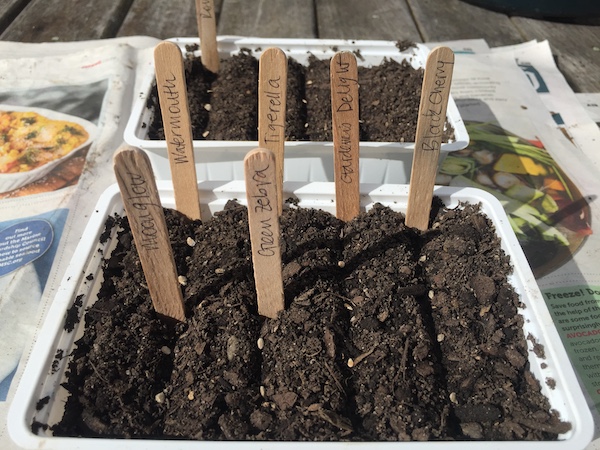
Using a spare label gently knock the soil from the sides of the trough back over the seed. It’s important that seed is not sown too deeply. A rule of thumb is that seed is sown twice the width of the seed deep. Tiny little seeds like basil can have just a fine sprinkling of seed-raising mix over them. You can use a product called vermiculite to cover your seeds. Vermiculite is a mineral that holds water well and lets air and light through. This can aid with even germination, but it isn’t necessary to use.
Gently firm it all down with your hand.
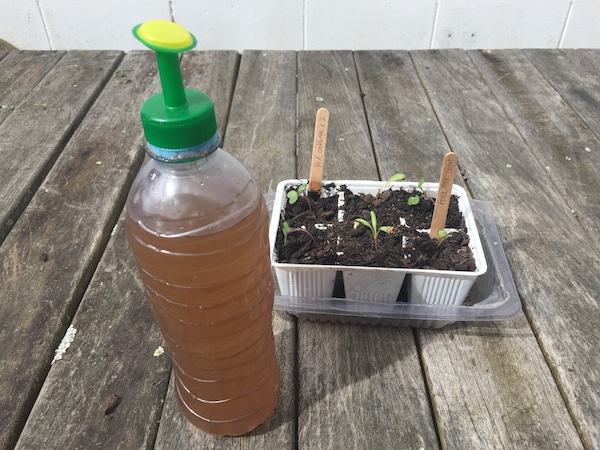
Then we need to give them a water. There are two ways to do this – one is making a water bath and adding a good splash of liquid seaweed to it. Make sure the water level is lower than the depth of your containers so they don’t float. Gently lower the containers in. They will be soaked to the top in 5-10 minutes.
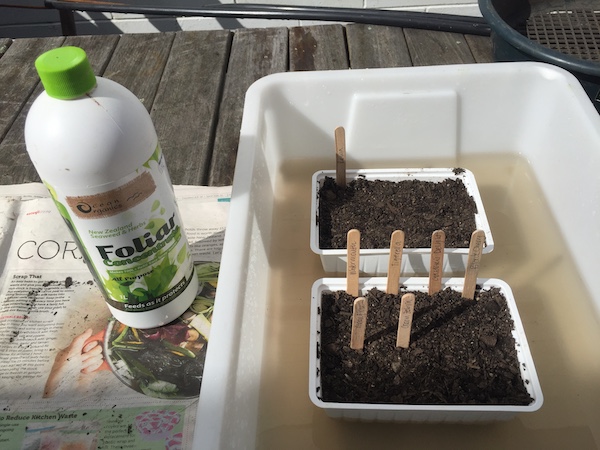
The other way is to water from the top. Top watering needs to be gentle so we use a spray top on a water bottle – once again add liquid seaweed to the bottle.
Liquid seaweed makes the seedlings strong and also prevents damping off (seedlings collapsing from a fungal disease).
Place containers on a used meat tray or similar on a windowsill which is light but not in direct sun. A windowsill that gets morning sun is better than one that gets sun in the afternoon.
Germination with leafy greens will occur around a week after sowing and with fruiting plants in 2-3 weeks.
Some seeds are best direct sown in the pot they will be planted from as they’re highly sensitive to root disturbance. Examples are cucumbers, zucchini, melons, beans and peas and herbs like coriander and dill.
Most root crops like carrots and radishes are best sown directly into the garden bed.
Pricking out
When the seedlings get to about 2 cms, it’s time to prick them out into bigger containers. The smaller they are the less transplant shock they experience.
What you’ll need for pricking out:
- Containers for pricking seedlings out into
- A kitchen knife
- A dibber or a stick to make holes
- Potting mix
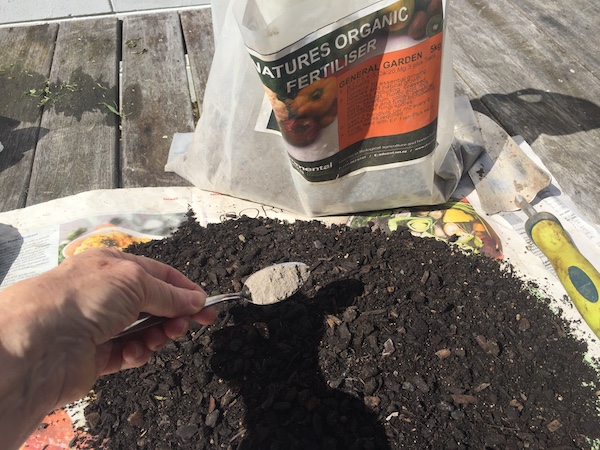
- Well-balanced organic fertiliser or rock dust
- Liquid seaweed
- Larger container to soak small containers in or a bottle with a spray top
On the matter of containers for pricking seedlings out into, there are a range of good alternatives here. We have 6-pack containers which are good for leafy green crops and bigger individual ones for fruiting plants, which we’ve saved from previous purchases and re-use.

We wash as above in a water bath with some white vinegar.
Other options are individual pots made of peat which you can plant directly into the garden and which ultimately break down.
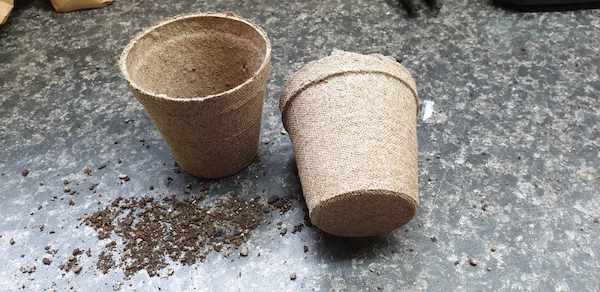
Then there are the jiffy pots which work for leafy greens – these take quite a while to break down though.
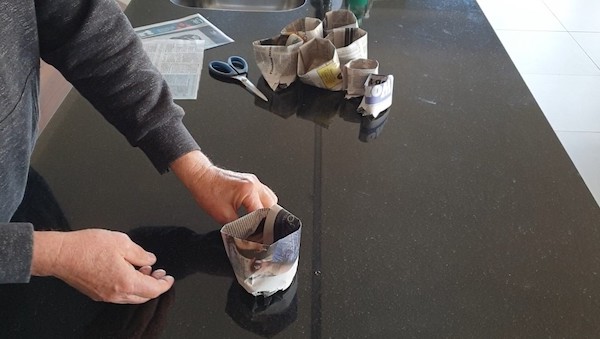
Then if you can’t get your hands on a commercial pot, you can make your own out of newspaper. These get planted into the garden directly as well. The good thing about using a pot made of organic material is that there’s no root disturbance on planting into the ground
Here’s a little video of Rob making pots out of newspaper
At this stage we would mix a little amount of fertiliser in with our potting mix, especially for the fruiting vegetables, as they’ll be in these pots for at least a month and grow quite big.
Fill your pots with this mix.
It’s good if your seed tray with the germinated seedlings is a bit on the dry side. That way the seedlings will come out easier with less root disturbance.
Using your knife, cut along the row and between the seedlings.

Holding the leaf of the plant which is the strongest part (you don’t want to damage the trunk by holding it) gently extract each seedling from its growing medium.
Using a dibber or stick make a hole in the pot or 6-pack and lower the seedling in. Backfill using your dibber or stick.

Remember to use the labels from the seeds or write new ones. Not so much need to write the date on the back as the seedlings are away now.
Water as for seeds – either a water bath or bottle with a spray top. And place on your windowsill again.
Wait until seedlings are a good size and can withstand outdoor temperatures as well as slugs and snails before planting out.
It’s a good idea to harden seedlings off before planting out by leaving them outside for a couple of days.
When planting out, make yeast traps by mixing 1 cup warm water, 1 teaspoon of white sugar and 1 teaspoon of dried yeast. Mix well and leave to bubble up. Fill a container and settle into the soil so that the top of the yeast trap is just a tiny bit above the soil level.
Alternatively or as well as, cut the bottom out of a big milk or juice bottle and place over the top of the plant to make a cloche (leave the bottle top off so it can be watered). In the cool days of Spring, cloches can be helpful getting seedlings started outside. But do take them off as it gets warmer as sensitive plants like lettuce could get too warm and collapse.
Go seed sowers!
-----
Organic Edible Garden’s vision is to make organic edible gardening achievable for everyone. Visit their website for Getting Started videos, and regular blog posts to find out what to do in your edible garden.