
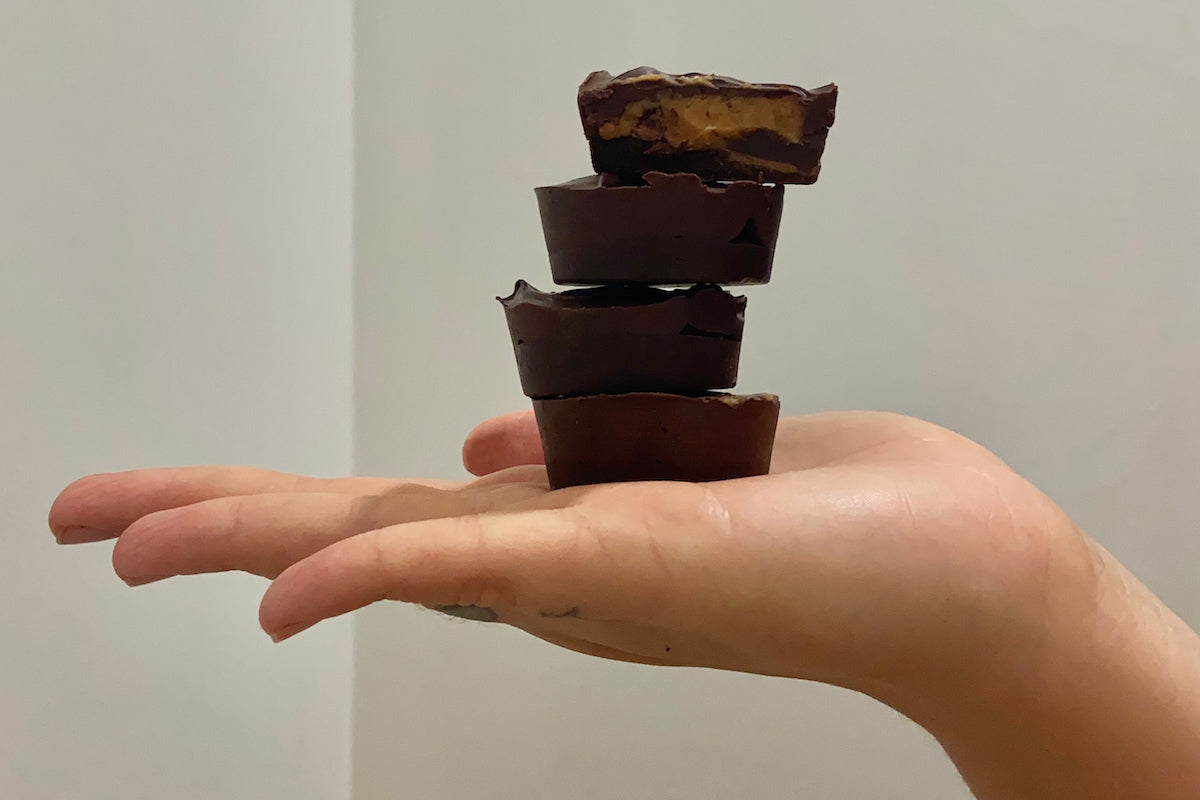
Vegan Dark Chocolate Peanut Butter Cups
This endeavour (like most creative things I undertake) was sparked by a desire to prove my imaginary haters wrong. I saw a recipe by Whittaker’s about their vegan caramel Easter eggs, and thought – I’ll show you (no one), I can make that!
I purchased the silicone molds and got to work. After what felt like hours of melting and cooling, chocolate on every surface of my kitchen and more curse words than I count – my masterpieces were complete. From the very beginning, I had my Instagram story in mind, so I picked the one with the least smudged fingerprints on it and posted it. As the praise rolled in, it all felt worth it.
I work in an open plan office with a few other vegans, so they got first dibs, but it wasn’t long before the whispers spread and the container was quickly emptied. Those who missed out pleaded for more, but I have decided the level of patience required was only sustainable annually. Tempering chocolate, ensuring uniform thickness, attaching both sides of the egg – it was all too much. Then someone desperate for me to change my mind suggested doing it like a peanut butter cup, and just like that… another challenge was born.
What you’ll need
- Mini muffin tray and/or mini muffin papers
- 500g dark chocolate (two family blocks with some left over to eat during the waiting time)
Filling
- 4 tablespoons coconut oil
- 3 tablespoons maple syrup (or any similar sweetener)
- 3 tablespoons peanut butter (any smooth nut butter would work)
Instructions
The first step is to melt half of the chocolate, either using a metal bowl over a saucepan or double boiler. Regrettably, a metal bowl was not what I prioritised when I smuggled pieces out of mum’s kitchen upon moving out, so I had to use a microwave-safe bowl, heating and stirring in 30 second increments so as not to burn the chocolate.
Spoon the melted chocolate into the muffin tray, filling it to just under halfway. Due to who I am as a person, I always overfill, that’s okay too. Leave to partially set at room temperature before scooping a small well in the chocolate to place the filling. Put in the fridge to set fully.
While the chocolate is setting, melt together the coconut oil and maple syrup, before adding the peanut (or other nut) butter. This step is where I always loose faith, warm peanut butter smells strange and you have to stir vigorously before it comes together. When I’m feeling impatient (which is always) I will place the mixture in the freezer instead of the fridge – either way – chill until firm.
Next, spoon the peanut butter mixture into the centre of each chocolate base. Depending on how patient you’ve been, you may be able to smooth the mixture into a sort of disc shape, allowing the chocolate to surround it evenly.
Melt the remaining chocolate and make sure the chocolate is not too hot as you spoon it over the peanut butter filling, enclosing it within the cup. Return tray to the fridge for final setting.
Carefully remove the cups from the tray – I used silicone again as it makes removing them super easy. If you used mini muffin papers, you can keep them in and serve just like a store bought peanut butter cup.
Makes about 24 depending on how much of the chocolate you eat during the process.
-----
Chanelle is a vegan, amateur athlete, social advocate, environmental enthusiast and blogger at mynameischanelle.com.
Read more
Right now, buying a home may feel like an impossible dream for many first home buyers – particularly if you’re house hunting in our biggest city. Solution Street was founded in 2016 to address this...
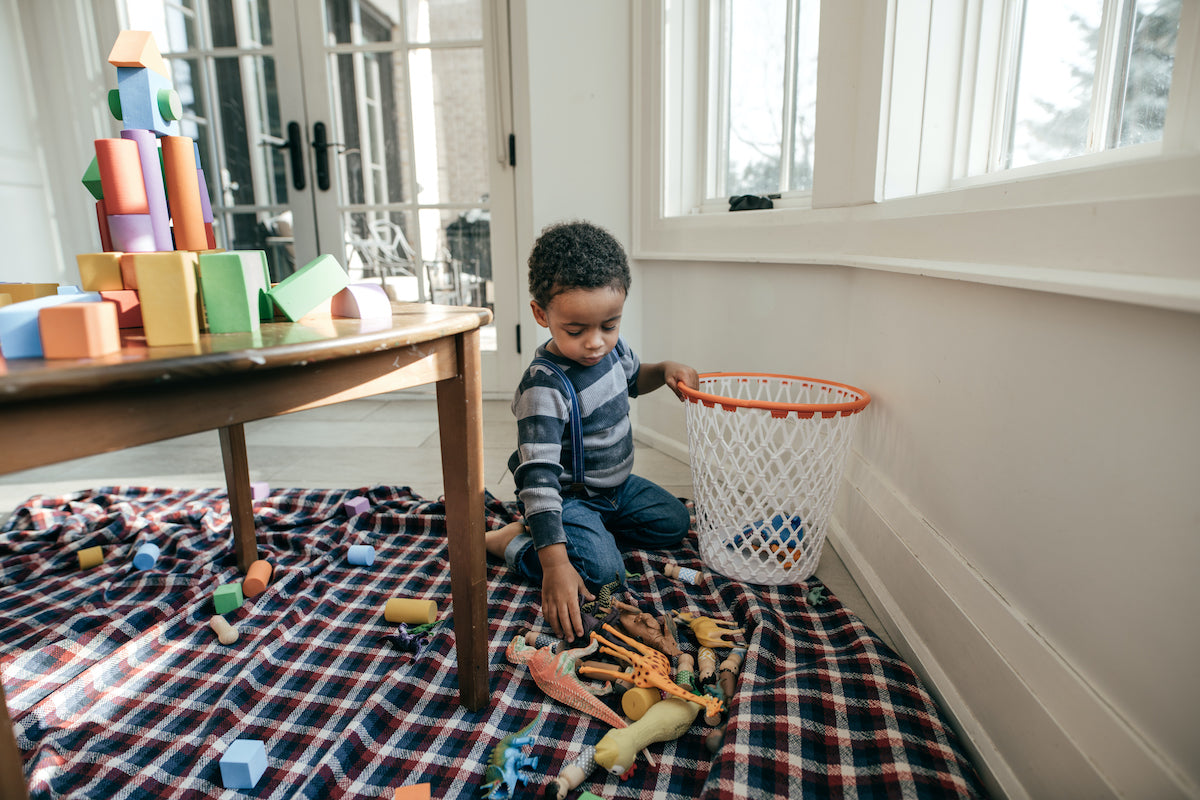
American comedian Phyllis Diller once observed "Cleaning the house while your kids are still growing is like shovelling the walk before it stops snowing." A sentiment most parents can sympathise wi...